Create a Table with SQL
Let's get started!
We will:
- Create a SQLite database with DB Browser for SQLite
- Create a table in the database with DB Browser for SQLite
We'll add data later. For now, we'll create the database and the first table structure.
We will create a table to hold this data:
| id | name | secret_name | age |
|---|---|---|---|
| 1 | Deadpond | Dive Wilson | null |
| 2 | Spider-Boy | Pedro Parqueador | null |
| 3 | Rusty-Man | Tommy Sharp | 48 |
Create a Database
SQLModel and SQLAlchemy are based on SQL.
They are designed to help you with using SQL through Python classes and objects. But it's still always very useful to understand SQL.
So let's start with a simple, pure SQL example.
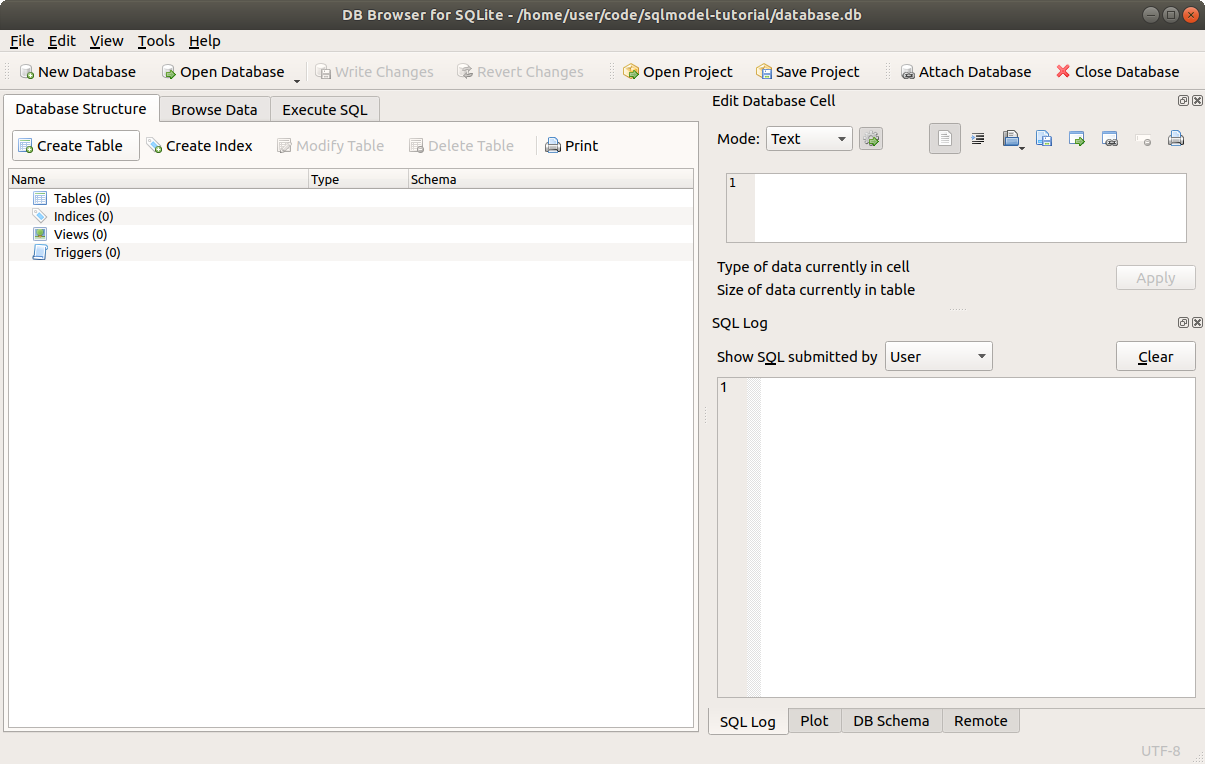
Open DB Browser for SQLite.
Click the button New Database.

A dialog should show up. Go to the project directory you created and save the file with a name of database.db.
Tip
It's common to save SQLite database files with an extension of .db. Sometimes also .sqlite.
Create a Table
After doing that, it might prompt you to create a new table right away.
If it doesn't, click the button Create Table.
Then you will see the dialog to create a new table.
So, let's create a new table called hero with the following columns:
id: anINTEGERthat will be the primary key (checkPK✅).name: aTEXT, it should beNOT NULL(checkNN✅), so, it should always have a value.secret_name: aTEXT, it should beNOT NULLtoo (checkNN✅).age: anINTEGER, this one can beNULL, so you don't have to check anything else.

Click OK to create the table.
While you click on the Add button and add the information, it will create and update the SQL statement that is executed to create the table:
CREATE TABLE "hero" ( --(1)
  "id"  INTEGER, --(2)
  "name"  TEXT NOT NULL, --(3)
  "secret_name" TEXT NOT NULL, --(4)
  "age" INTEGER, --(5)
  PRIMARY KEY("id") --(6)
); --(7)
- Create a table with the name
hero. Also notice that the columns for this table are declared inside the parenthesis "(" that starts here. - The
idcolumn, anINTEGER. This is declared as the primary key at the end. - The
namecolumn, aTEXT, and it should always have a valueNOT NULL. - The
secret_namecolumn, anotherTEXT, alsoNOT NULL. - The
agecolumn, anINTEGER. This one doesn't haveNOT NULL, so it can beNULL. - The
PRIMARY KEYof all this is theidcolumn. - This is the end of the SQL table, with the final parenthesis "
)". It also has the semicolon ";" that marks the end of the SQL statement. There could be more SQL statements in the same SQL string.
Now you will see that it shows up in the list of Tables with the columns we specified. 🎉
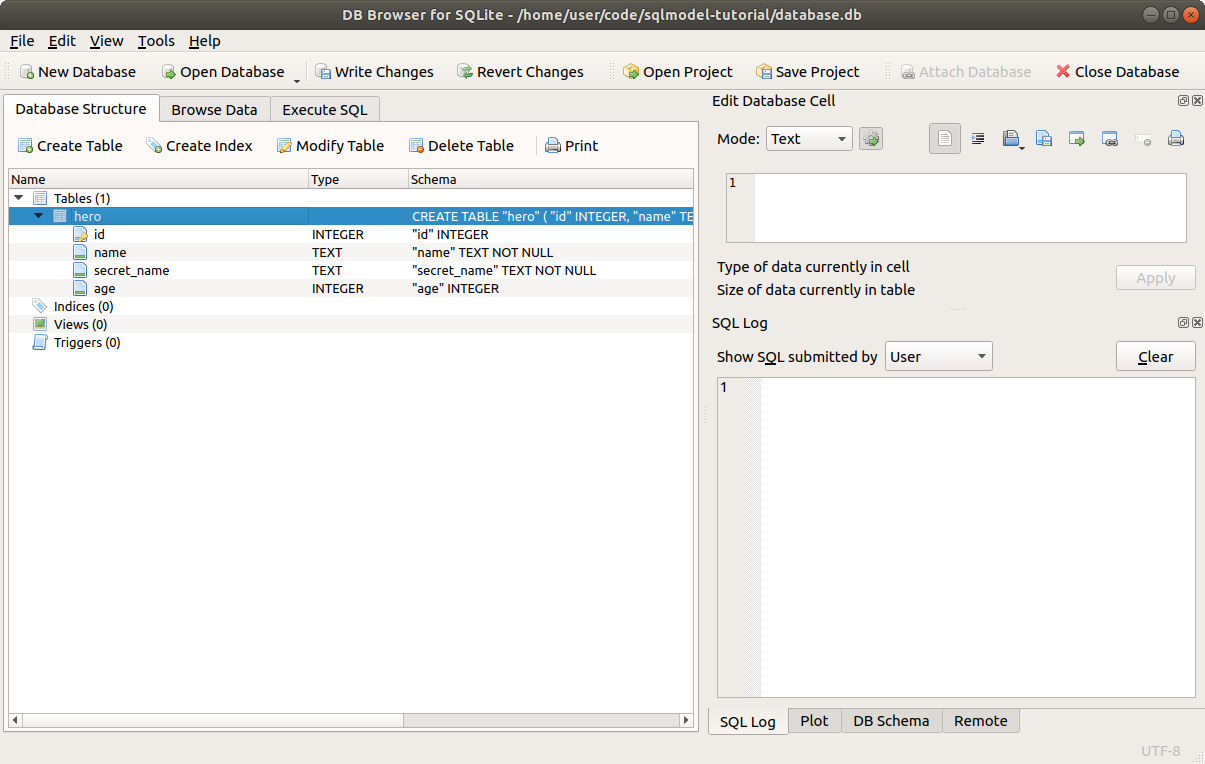
The only step left is to click Write Changes to save the changes to the file.

After that, the new table is saved in this database on the file ./database.db.
Confirm the Table
Let's confirm that it's all saved.
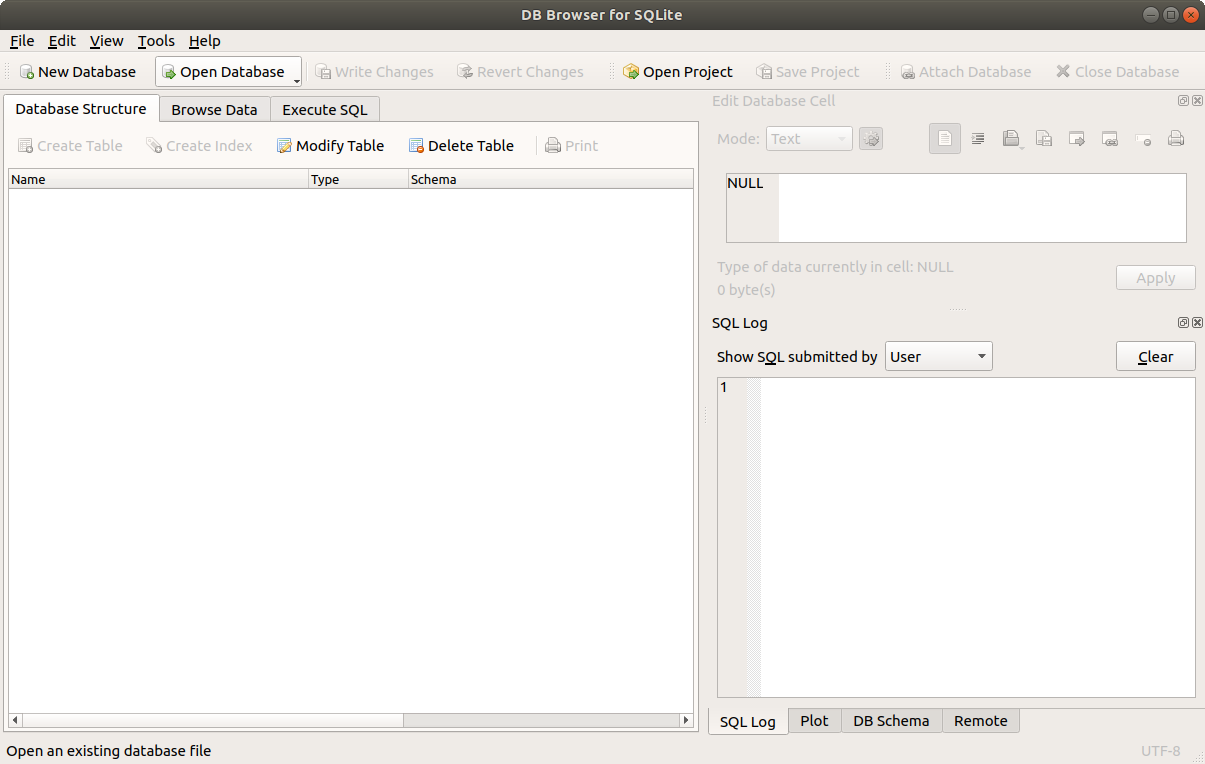
First click the button Close Database to close the database.

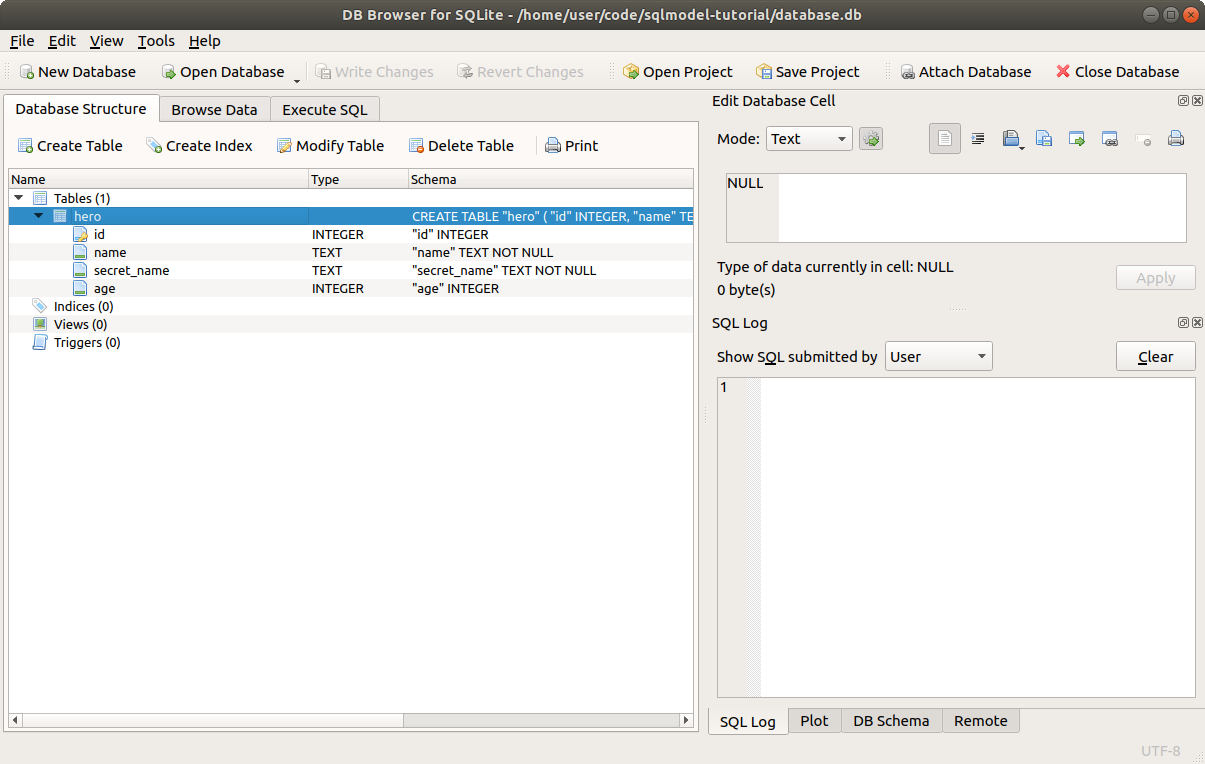
Now click on Open Database to open the database again, and select the same file ./database.db.
You will see again the same table we created.
Create the Table again, with SQL
Now, to see how is it that SQL works, let's create the table again, but with SQL.
Click the Close Database button again.
And delete that ./database.db file in your project directory.
And click again on New Database.
This time, if you see the dialog to create a new table, just close it by clicking the Cancel button.
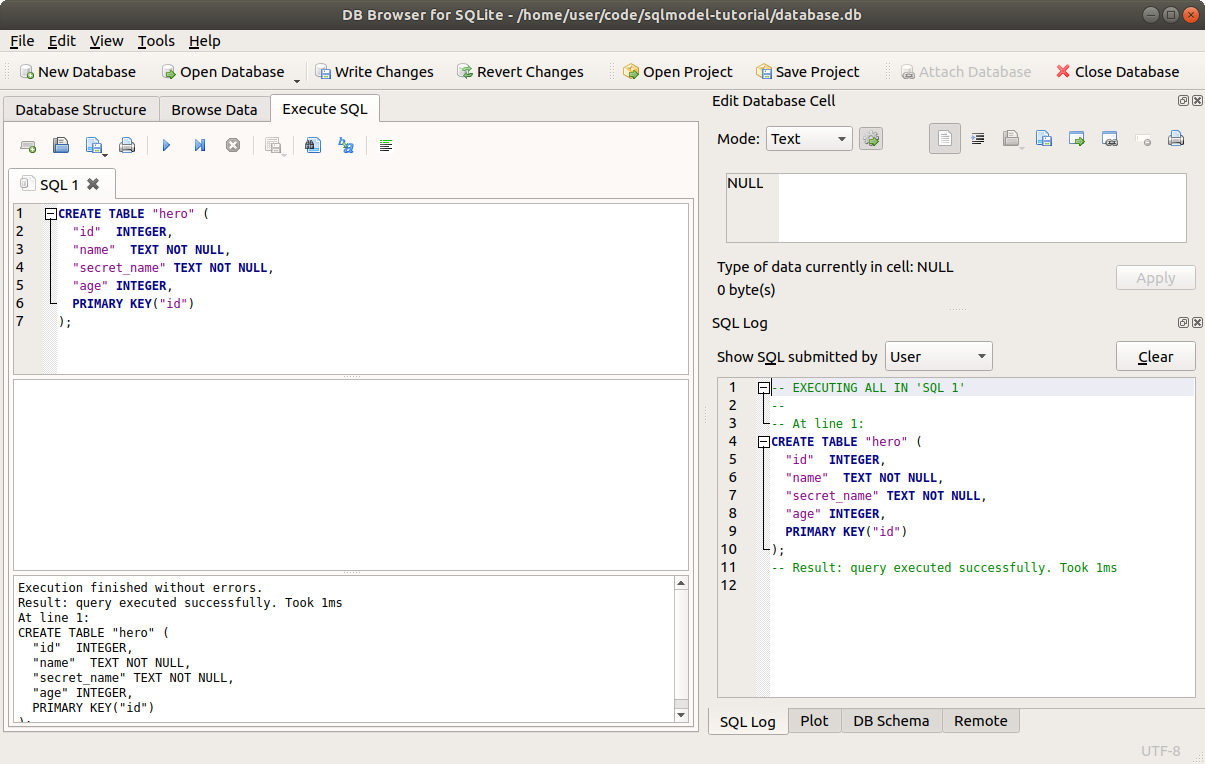
And now, go to the tab Execute SQL.
Write the same SQL that was generated in the previous step:
CREATE TABLE "hero" (
  "id"  INTEGER,
  "name"  TEXT NOT NULL,
  "secret_name" TEXT NOT NULL,
  "age" INTEGER,
  PRIMARY KEY("id")
);
Then click the "Execute all" ▶ button.

You will see the "execution finished successfully" message.
And if you go back to the Database Structure tab, you will see that you effectively created again the same table.
Learn More SQL
I will keep showing you small bits of SQL through this tutorial. And you don't have to be a SQL expert to use SQLModel.
But if you are curious and want to get a quick overview of SQL, I recommend the visual documentation from SQLite, on SQL As Understood By SQLite.
You can start with CREATE TABLE.
Of course, you can also go and take a full SQL course or read a book about SQL, but you don't need more than what I'll explain here on the tutorial to start being productive with SQLModel. 🤓
Recap
We saw how to interact with SQLite databases in files using DB Browser for SQLite in a visual user interface.
We also saw how to use it to write some SQL directly to the SQLite database. This will be useful to verify the data in the database is looking correctly, to debug, etc.
In the next chapters we will start using SQLModel to interact with the database, and we will continue to use DB Browser for SQLite at the same time to look at the database underneath. 🔍