Intro, Installation, and First Steps
Type hints
If you need a refresher about how to use Python type hints (type annotations), check FastAPI's Python types intro.
You can also check the mypy cheat sheet.
SQLModel uses type annotations for everything, this way you can use a familiar Python syntax and get all the editor support possible, with autocompletion and in-editor error checking.
Intro
This tutorial shows you how to use SQLModel with all its features, step by step.
Each section gradually builds on the previous ones, but it's structured to separate topics, so that you can go directly to any specific one to solve your specific needs.
It is also built to work as a future reference.
So you can come back and see exactly what you need.
Run the code
All the code blocks can be copied and used directly (they are tested Python files).
It is HIGHLY encouraged that you write or copy the code, edit it, and run it locally.
Using it in your editor is what really shows you the benefits of SQLModel, seeing how much code it saves you, and all the editor support you get, with autocompletion and in-editor error checks, preventing lots of bugs.
Running the examples is what will really help you understand what is going on.
You can learn a lot more by running some examples and playing around with them than by reading all the docs here.
Create a Project
Please go ahead and create a directory for the project we will work on on this tutorial.
What I normally do is that I create a directory named code inside my home/user directory.
And inside of that I create one directory per project.
So, for example:
// Go to the home directory
$ cd
// Create a directory for all your code projects
$ mkdir code
// Enter into that code directory
$ cd code
// Create a directory for this project
$ mkdir sqlmodel-tutorial
// Enter into that directory
$ cd sqlmodel-tutorial
Tip
Make sure you don't name it also sqlmodel, so that you don't end up overriding the name of the package.
Make sure you have Python
Make sure you have an officially supported version of Python.
You can check which version you have with:
$ python3 --version
Python 3.11
There's a chance that you have multiple Python versions installed.
You might want to try with the specific versions, for example with:
python3.12python3.11python3.10python3.9
The code would look like this:
// Let's check with just python3
$ python3 --version
// This is too old! 😱
Python 3.5.6
// Let's see if python3.10 is available
$ python3.10 --version
// Oh, no, this one is not available 😔
command not found: python3.10
$ python3.9 --version
// Nice! This works 🎉
Python 3.9.0
// In this case, we would continue using python3.9 instead of python3
If you have different versions and python3 is not the latest, make sure you use the latest version you have available. For example python3.9.
If you don't have a valid Python version installed, go and install that first.
Create a Python virtual environment
When writing Python code, you should always use virtual environments in one way or another.
If you don't know what that is, you can read the official tutorial for virtual environments, it's quite simple.
In very short, a virtual environment is a small directory that contains a copy of Python and all the libraries you need to run your code.
And when you "activate" it, any package that you install, for example with pip, will be installed in that virtual environment.
Tip
There are other tools to manage virtual environments, like Poetry.
And there are alternatives that are particularly useful for deployment like Docker and other types of containers. In this case, the "virtual environment" is not just the Python standard files and the installed packages, but the whole system.
Go ahead and create a Python virtual environment for this project. And make sure to also upgrade pip.
Here are the commands you could use:
// Remember that you might need to use python3.9 or similar 💡
// Create the virtual environment using the module "venv"
$ python3 -m venv env
// ...here it creates the virtual environment in the directory "env"
// Activate the virtual environment
$ source ./env/bin/activate
// Verify that the virtual environment is active
# (env) $$ which python
// The important part is that it is inside the project directory, at "code/sqlmodel-tutorial/env/bin/python"
/home/leela/code/sqlmodel-tutorial/env/bin/python
// Use the module "pip" to install and upgrade the package "pip" 🤯
# (env) $$ python -m pip install --upgrade pip
---> 100%
Successfully installed pip
// Create the virtual environment using the module "venv"
# >$ python3 -m venv env
// ...here it creates the virtual environment in the directory "env"
// Activate the virtual environment
# >$ .\env\Scripts\Activate.ps1
// Verify that the virtual environment is active
# (env) >$ Get-Command python
// The important part is that it is inside the project directory, at "code\sqlmodel-tutorial\env\python.exe"
CommandType    Name    Version     Source
-----------    ----    -------     ------
Application    python  0.0.0.0     C:\Users\leela\code\sqlmodel-tutorial\env\python.exe
// Use the module "pip" to install and upgrade the package "pip" 🤯
# (env) >$ python3 -m pip install --upgrade pip
---> 100%
Successfully installed pip
Install SQLModel
Now, after making sure we are inside of a virtual environment in some way, we can install SQLModel:
# (env) $$ python -m pip install sqlmodel
---> 100%
Successfully installed sqlmodel pydantic sqlalchemy
As SQLModel is built on top of SQLAlchemy and Pydantic, when you install sqlmodel they will also be automatically installed.
Install DB Browser for SQLite
Remember that SQLite is a simple database in a single file?
For most of the tutorial I'll use SQLite for the examples.
Python has integrated support for SQLite, it is a single file read and processed from Python. And it doesn't need an External Database Server, so it will be perfect for learning.
In fact, SQLite is perfectly capable of handling quite big applications. At some point you might want to migrate to a server-based database like PostgreSQL (which is also free). But for now we'll stick to SQLite.
Through the tutorial I will show you SQL fragments, and Python examples. And I hope (and expect 🧐) you to actually run them, and verify that the database is working as expected and showing you the same data.
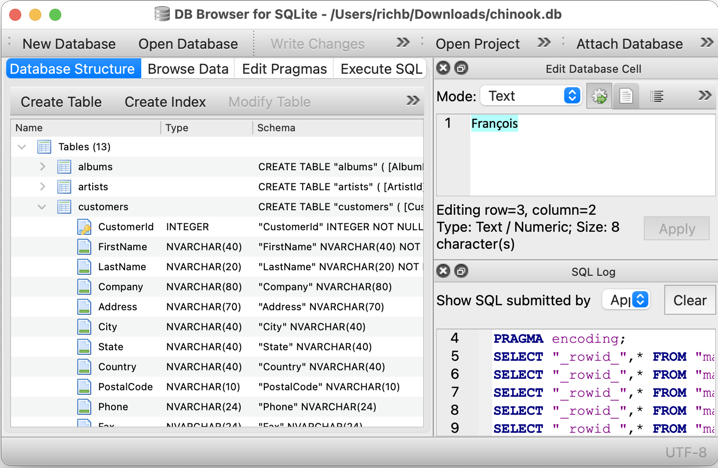
To be able to explore the SQLite file yourself, independent of Python code (and probably at the same time), I recommend you use DB Browser for SQLite.
It's a great and simple program to interact with SQLite databases (SQLite files) in a nice user interface.
Go ahead and Install DB Browser for SQLite, it's free.
Next Steps
Okay, let's get going! On the next section we'll start creating a database. 🚀